
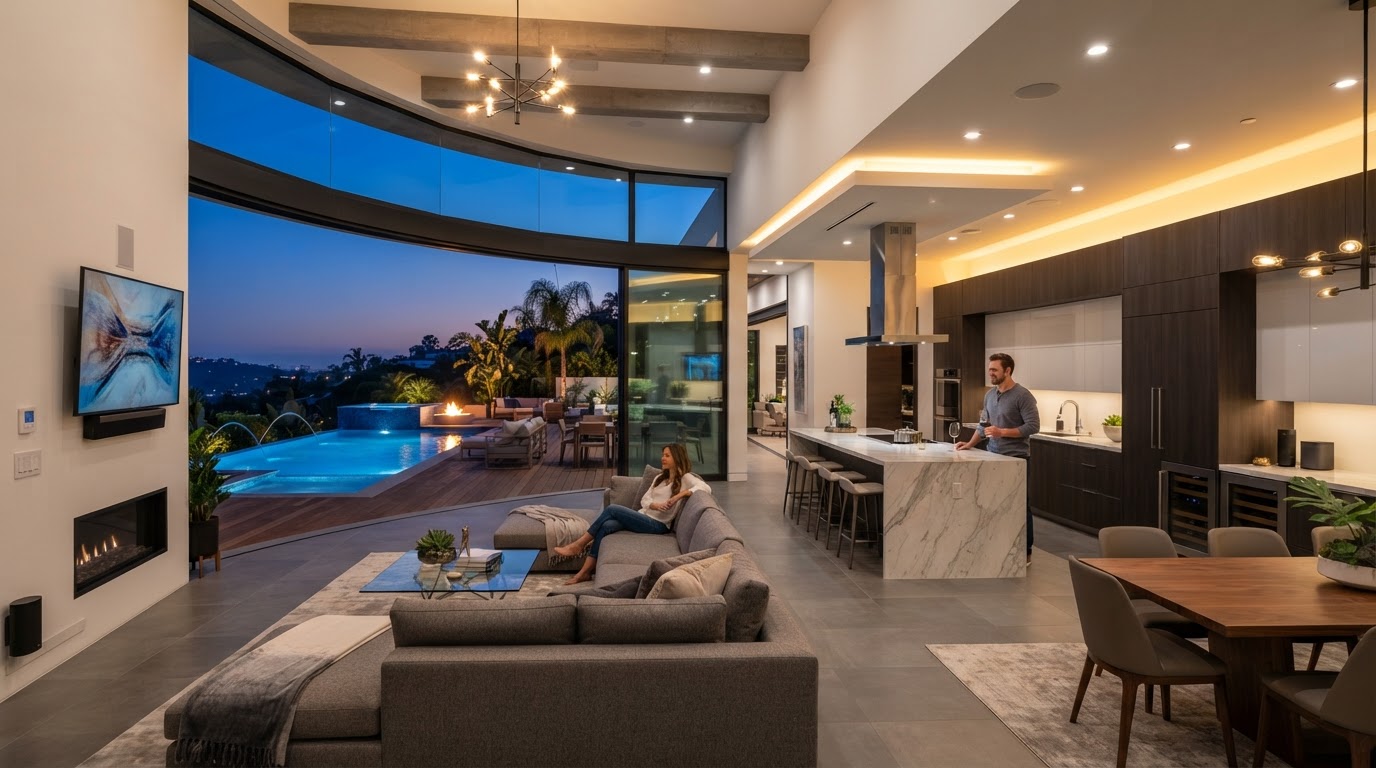
Beautiful light.
Simple control.
Control4 lighting for the way you live—and the way you want your home to feel. Explore thoughtful lighting control, refined Lux finishes, and a plan that fits your home, remodel, or new build.
For homeowners, builders, and interior designers.
Start with the room. Not a wall of switches.
A kitchen needs useful light when you are cooking. The same space can feel different when dinner is over and friends are still around the island.
Lighting control brings those different needs together. The goal is not more buttons or another app to manage. It is a home that is easier to use, with lighting that makes sense for the moment.
COOKING
Keep the work areas clear and useful.
ENTERTAINING
Bring the room’s lighting layers together.
GOOD NIGHT
Turn off selected lights and leave the lighting you still need.
Examples are programmed around the compatible equipment and priorities in your home.
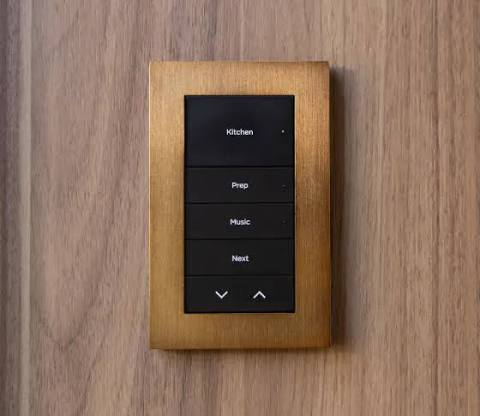
The controls should belong in the room.
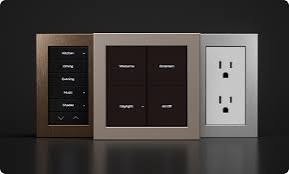
Lux by Control4 brings a more considered finish to keypads, dimmers, switches, and outlets. Explore designer colors, premium metal faceplates, and button configurations that support the room rather than compete with it.
The labels matter, too. Kitchen. Relax. Entertain. Room Off. The right engraving helps your family and guests understand what a button does.
Refined finishes
Personalized engraving
Everyday scene control
Final device, faceplate, button, and color selections are confirmed together for your project.
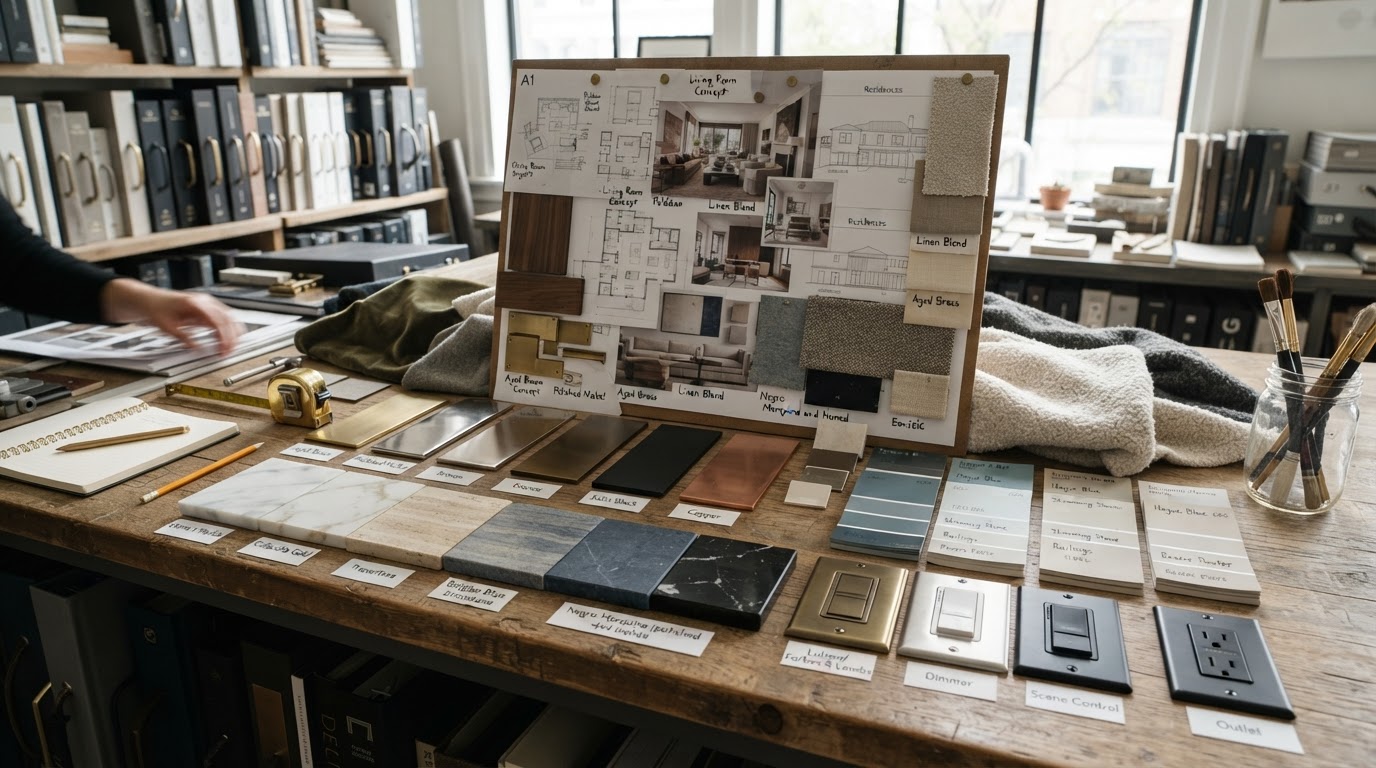
See the finish before you choose it.
A finish on a screen is a starting point. A physical sample next to your cabinetry, paint, stone, and hardware makes the conversation more useful.
Control4 offers different Lux tools for reviewing finishes and demonstrating controls. We can discuss which sample options make sense for your project.
LUX COLOR SWATCH KIT
A portable selection of physical finish samples.
LUX COLOR DESIGN KIT
A hands-on way to explore finish and button-configuration combinations.
LUX DEMO STAND
A powered presentation stand for demonstrating backlit engraving and status lights.
Less on the wall. More thought behind it.
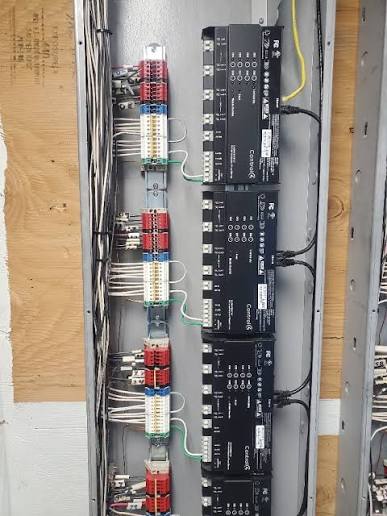
In a centralized—or panelized—lighting design, the equipment that switches or dims lighting circuits is located in dedicated control panels rather than putting every load-control device on the room’s wall.
Wall keypads can then provide convenient control of lights and scenes. This approach deserves an early conversation on a new build or substantial remodel, when circuit routing, equipment space, and room-control locations are still being planned.
• The keypad is the interface you touch.
• The lighting load is the circuit being controlled.
• Where the load-control equipment lives is a separate decision from how the keypad communicates.
Panelized lighting does not remove the need for fixture wiring, appropriate equipment space, electrical work, and system design.
Wireless or wired? Start with the project.
Two questions help make this decision clearer: how will the controls communicate, and where will the lighting circuits be controlled? They are related, but they are not the same question.
WIRELESS CONTROLS
Wireless refers to communication, not an absence of electrical work. Compatible wireless dimmers, switches, and keypads may suit a finished home or a phased upgrade. Existing wiring, device power, lighting loads, and the control network still need to be checked.
WIRED KEYPADS
Wired keypads use a dedicated control connection. They are worth discussing while the home’s infrastructure is being planned, particularly when the goal is a coordinated, whole-home system.
CENTRALIZED LOAD CONTROL
Panelized lighting describes where the equipment controlling the lighting circuits is located. It is not simply another name for every wired keypad.
Some projects combine approaches. The aim is a coherent system—not a blanket claim that one method is always better.
Plan the controls before rough-in.
The best time to talk about lighting control is while the plans can still change without undoing finished work.
Start with how the homeowner will use each room. Then coordinate the fixture selections, control locations, equipment space, and wiring approach with the builder, electrician, designer, and technology integrator.
Planning Checklist:
- 1.Identify the lighting circuits and the purpose of each room.
- 2.Agree on keypad locations and the scenes people will use.
- 3.Review fixture and driver requirements with the control plan.
- 4.Allow suitable space and access for the specified equipment.
- 5.Coordinate wiring and responsibilities before rough-in.
- 6.Plan labeling, documentation, programming, and handoff.

Light the room. Highlight the details.
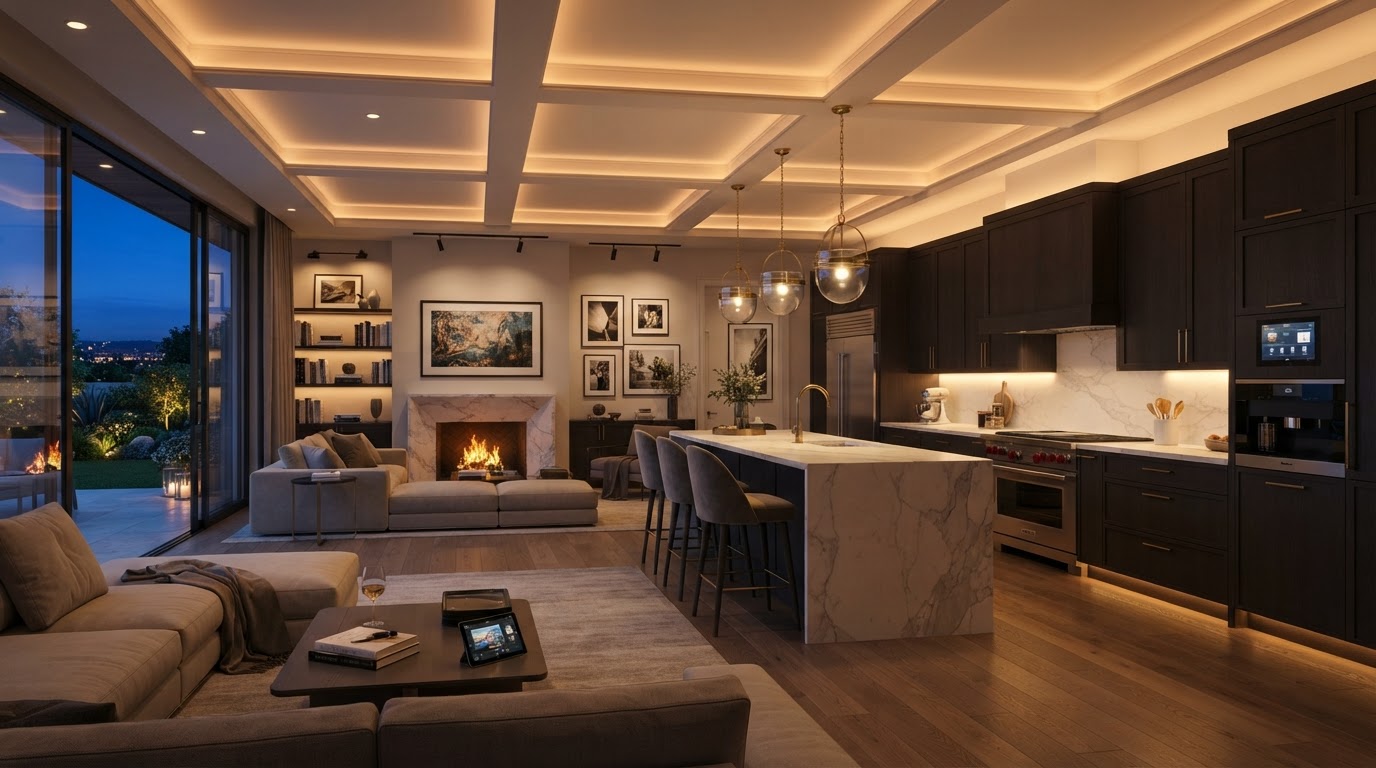
A room does not have to rely on one bright ceiling light. Think about the light you need for a task, the general illumination that makes the space usable, and the accents that bring attention to materials, shelving, and architecture.
Control4 can bring compatible lighting layers together in programmed scenes. Vibrant lighting adds options for color and color-temperature control where the selected products support them.
AMBIENT
The room’s overall illumination.
TASK
Light for the activity in front of you.
ACCENT
Light that draws attention to a detail.
Lighting that fits the rhythm of your day.
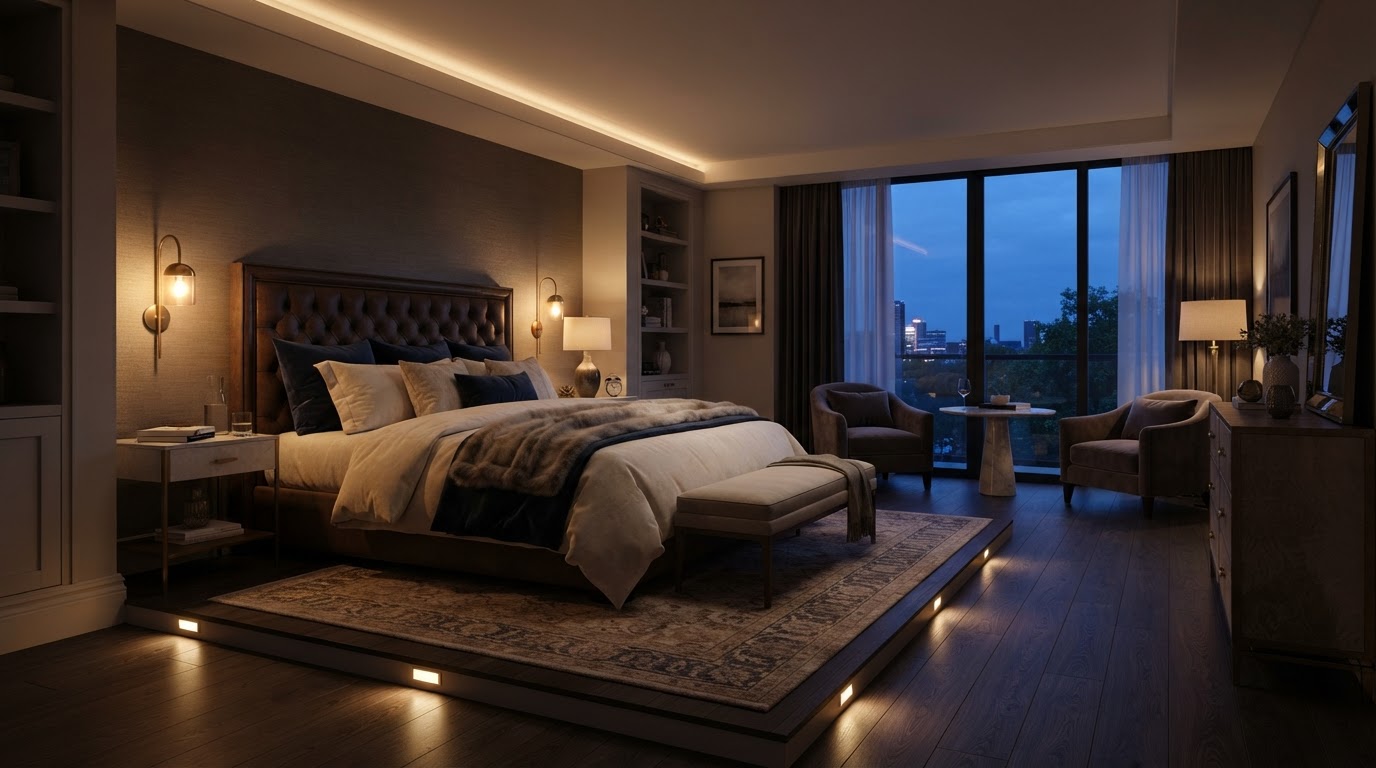
Your lighting does not need to stay the same from morning to night. A programmed schedule can adjust compatible lights for different parts of the day, while a well-placed control keeps manual adjustment simple.
Evening scenes might reduce selected lights and bring attention to softer layers. With compatible sensors and programming, nighttime lighting can respond along the routes you actually use.
Brightness, color-temperature changes, and sensor behavior depend on the specified equipment and programming.
The lighting plan does not stop at the back door.
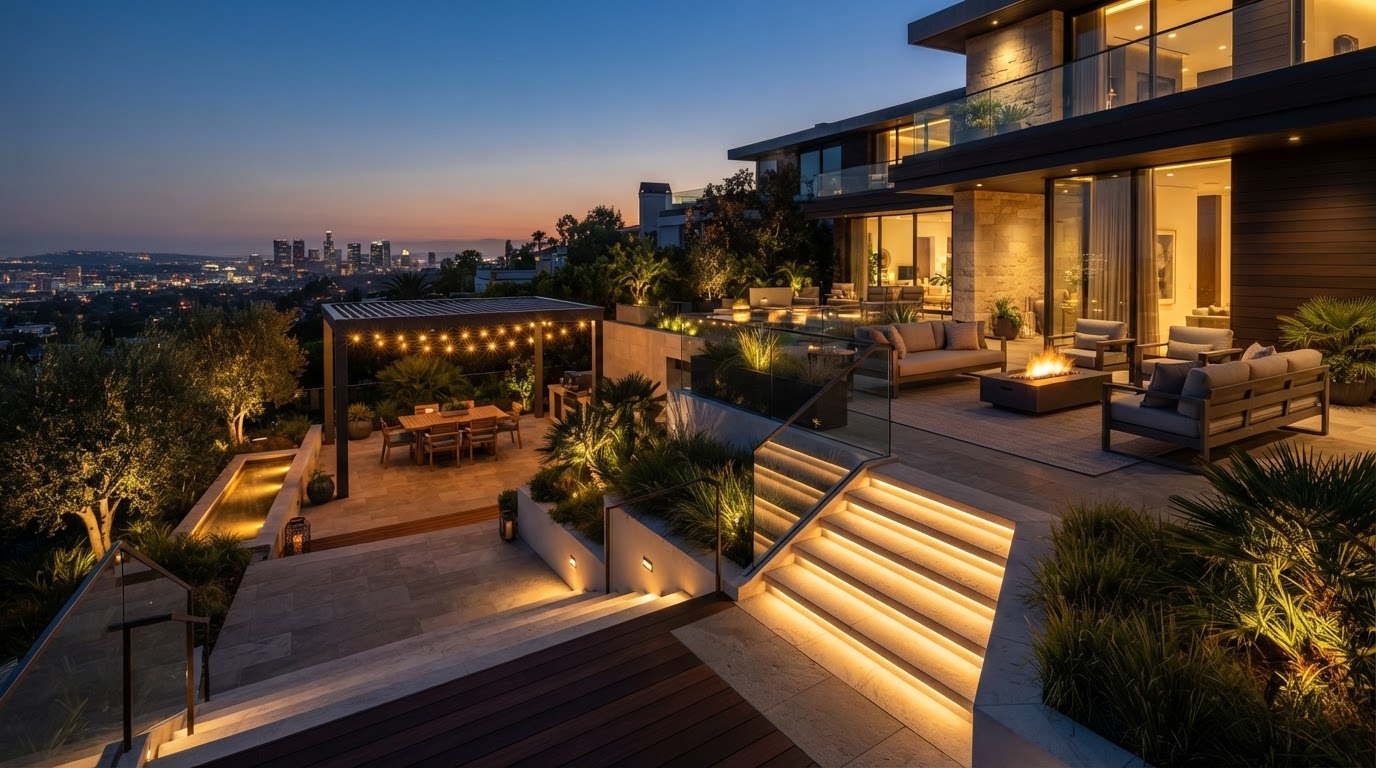
Patios, steps, pathways, and landscape features all have different lighting needs. Plan them as part of how the space is used after dark—not just as a collection of fixtures.
Compatible outdoor lighting can be included in the home’s control plan, with scenes and schedules that suit everyday evenings and time with guests.
Outdoor equipment and control compatibility are specified for the actual location and application.
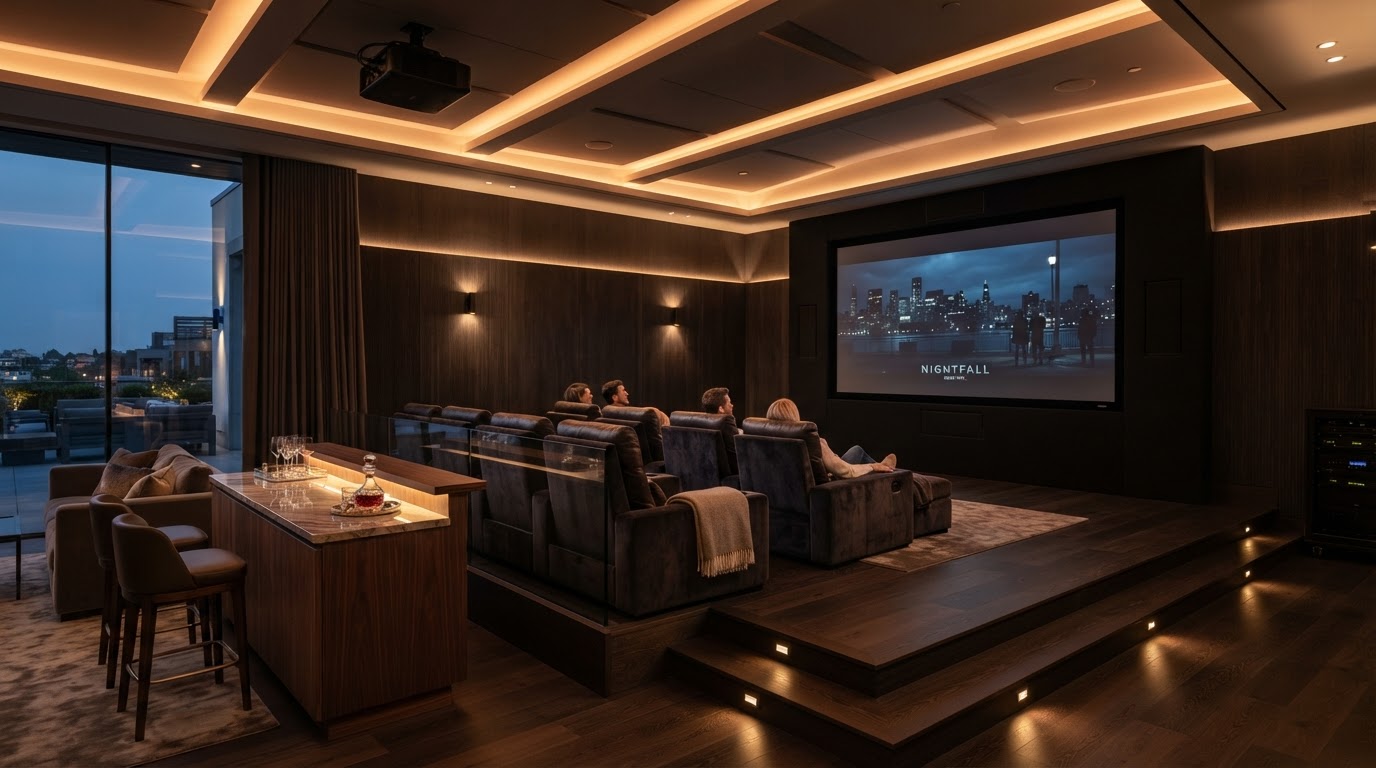
Movie night can start with the lights.
A programmed Control4 scene can coordinate compatible lighting and entertainment. Bring the room to a comfortable viewing level, keep the accents you enjoy, and make the everyday steps simpler.
The useful part is not the number of devices. It is having the right actions happen together.
Scenes are tailored to the equipment and preferences in your home.
One lighting conversation. Three starting points.
Choose your project role to preselect the right focus in our consultation form.
HOMEOWNERS
Tell us what is inconvenient today and what you want the room to feel like. We will start with the spaces and routines that matter most.
BUILDERS
Bring the plans and the construction stage. Let us discuss controls, equipment space, and coordination before those decisions are locked in.
INTERIOR DESIGNERS
Bring the palette and the details you want to protect. We will discuss finish options, keypad placement, and the lighting experience.
Start with a conversation. Build a clear plan.
Proposed project approach—not work already performed in the illustrated homes.
Understand the project.
Review routines, lifestyle priorities, architectural plans, and equipment preferences.
Coordinate the details.
Align finish choices, keypad engraving, panel locations, and electrical rough-in requirements.
Specify, install, and personalize.
Execute the approved system design, program intuitive scenes, and walk you through daily use.
Frequently Asked Questions
Let’s plan lighting that belongs in your home.
Tell us a little about the project. Whether you are improving one room, selecting finishes, or planning a new build, we can start with the decisions that matter next.